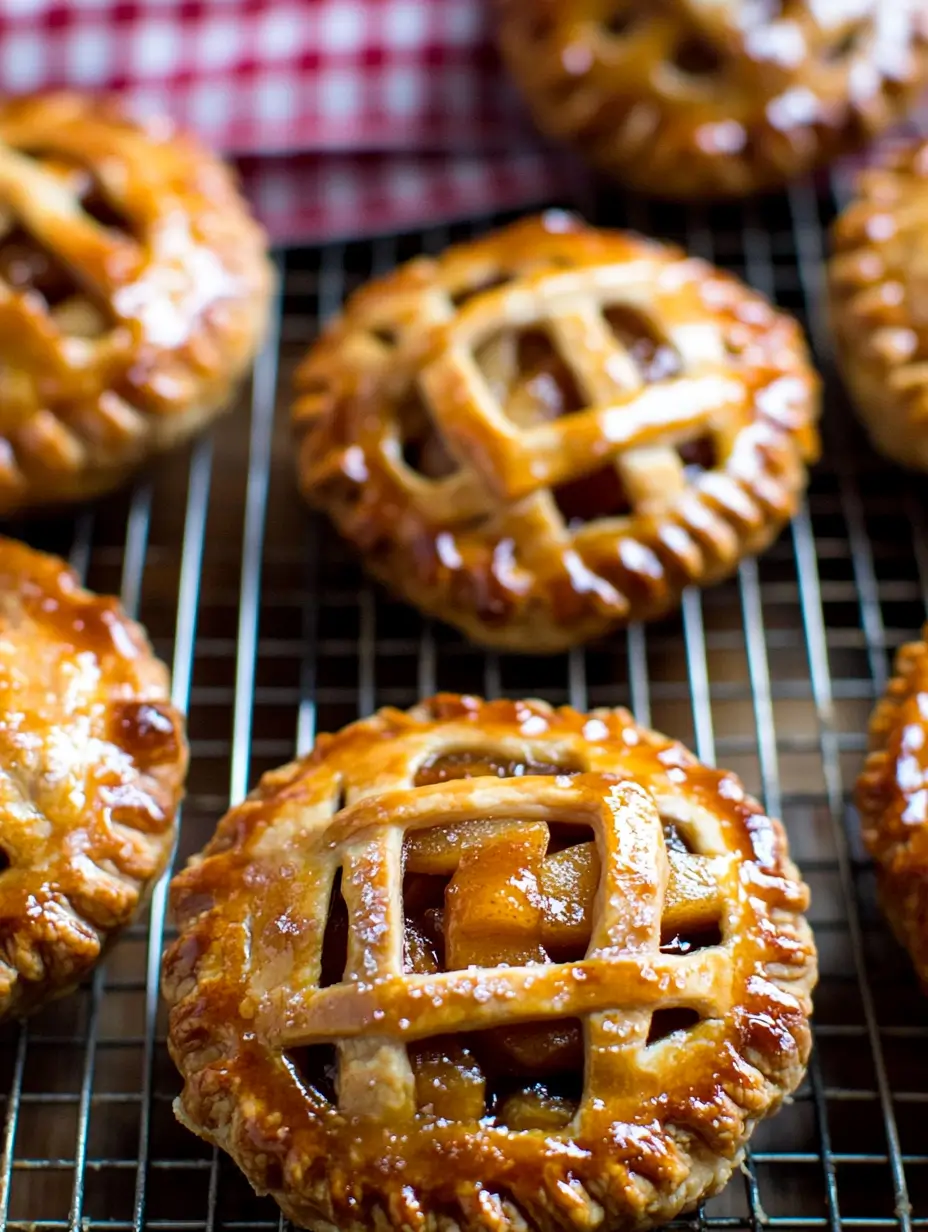
Want a taste of apple pie without the fuss? Get ready, because these apple hand pies are about to be your NEW go-to! Flaky crusts, warm spiced apples, it’s like a slice of heaven, made super portable! They were GONE in 10 MINUTES at my last Thanksgiving.
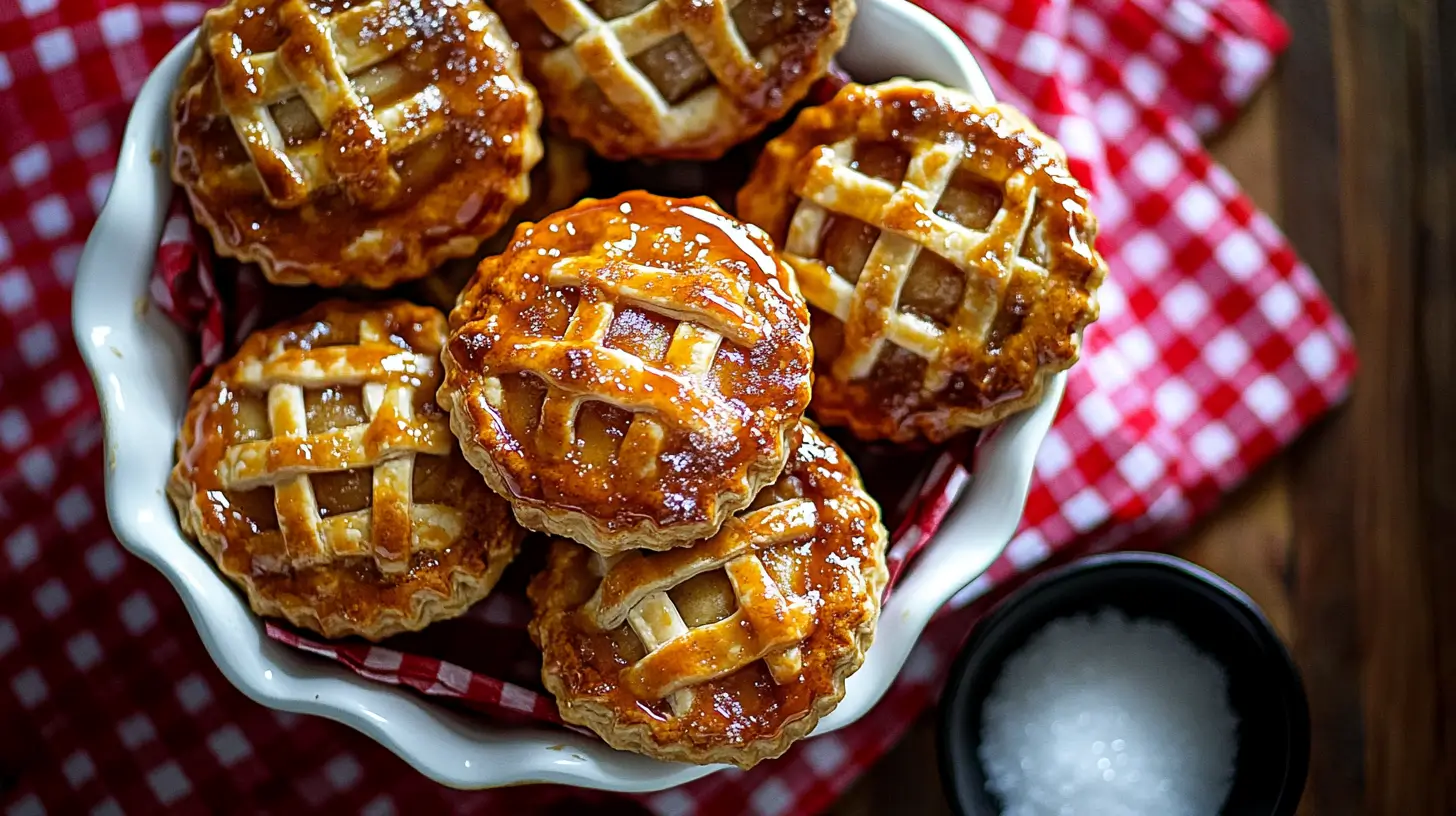
Easier to make than pie, this recipe is fast, beginner-friendly, and a TON of fun! Get ready – it takes only 20 MINUTES to prep. Let’s MAKE some apple hand pie magic!
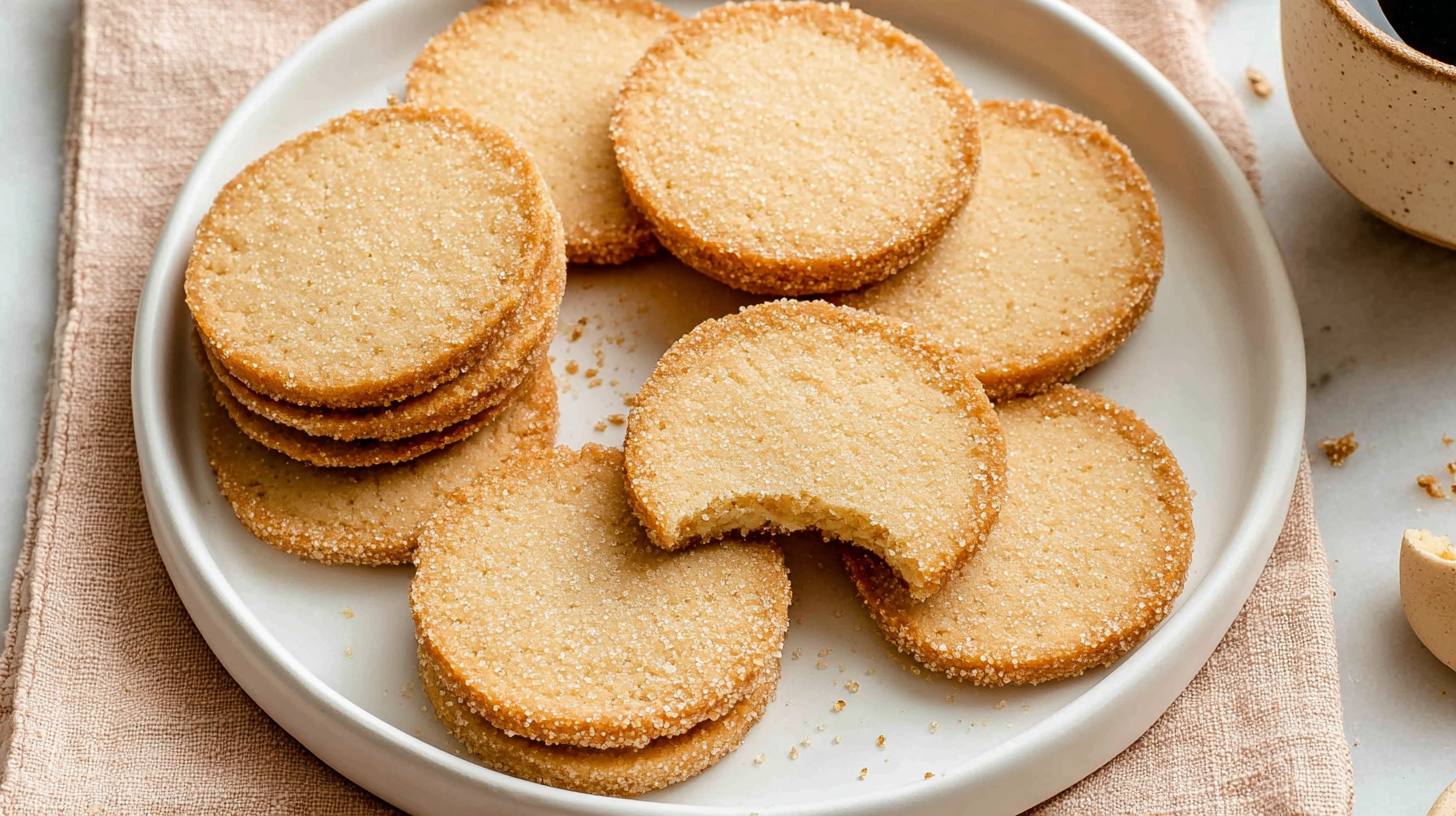
I absolutely love sweet treats, and if you’re like me, you’ll adore these Raspberry Shortbread Cookies—buttery, fruity, and perfect for any occasion
— ❖ —
Ingredients You Need for Apple Hand Pies
Alright, before we get flour everywhere, here’s what you need:
- For the Crust:
- 2 1/2 cups all-purpose flour (I like the BRANDS my Mom uses – trust me on that).
- 1 teaspoon salt – Gotta get it right!
- 1 cup (2 sticks) unsalted butter, cold and cut into cubes. FREEZING the butter for 10 minutes before cutting in is a HACK that has always worked for my mom
- 1/2 cup ice water (seriously, ICE cold is KEY!)
- For the Filling:
- 3 medium apples (such as Honeycrisp or Granny Smith). You can get them anywhere these days.
- 1/4 cup granulated sugar – This is my FAVORITE way of adding sugar cause it’s SO natural!
- 1/4 cup packed light brown sugar
- 2 tablespoons all-purpose flour – this is the magic to thickening up your pie, that even a CHILD can do it.
- 1 teaspoon ground cinnamon (because apples AND cinnamon?! YES, always)
- 1/2 teaspoon ground nutmeg – THIS is an essential, trust me on that.
- 1/4 teaspoon ground cloves – for a bit more spicy, BAM.
- 1 tablespoon lemon juice – trust me on this hack to avoid soggy fillings!
- For the Egg Wash (Optional but VERY recommended):
- 1 egg beaten with 1 tablespoon water. IT ADDS SUCH SHINE
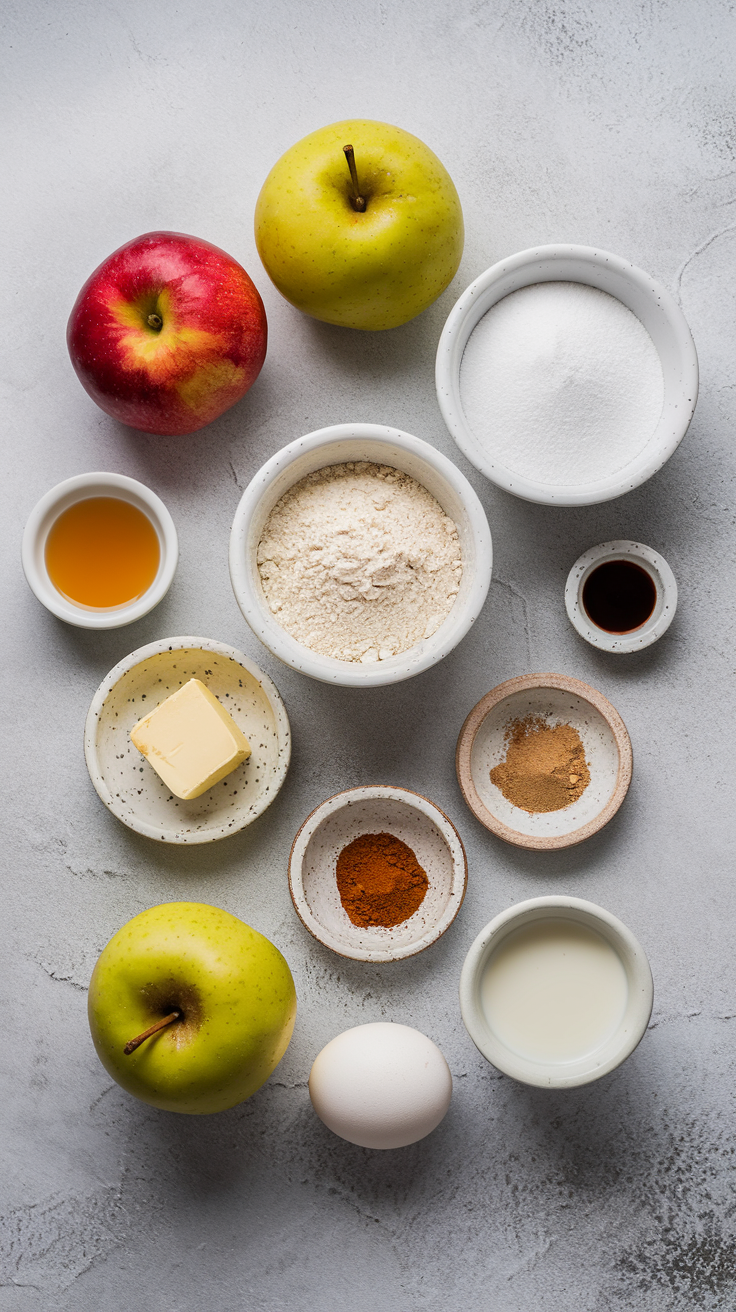
That’s it. Simple right? Let’s move to the GOOD PART!
— ❖ —
Let’s Bake These Amazing Apple Hand Pies Step-by-Step
Make the Dough: In a bowl, you whisk together the flour and salt. Add in the cubed cold butter. I like using a pastry cutter or my fingers (messy is GOOD). Then, slowly add ice water, a little at a time. Make sure the water absorbs, and the dough holds! Shape it in a flat disc, wrap in plastic wrap, and CHILL for at least 30 minutes. This is THE MOST important thing to remember about making pie doughs, I know my grandma would be proud I’m keeping up with the rules
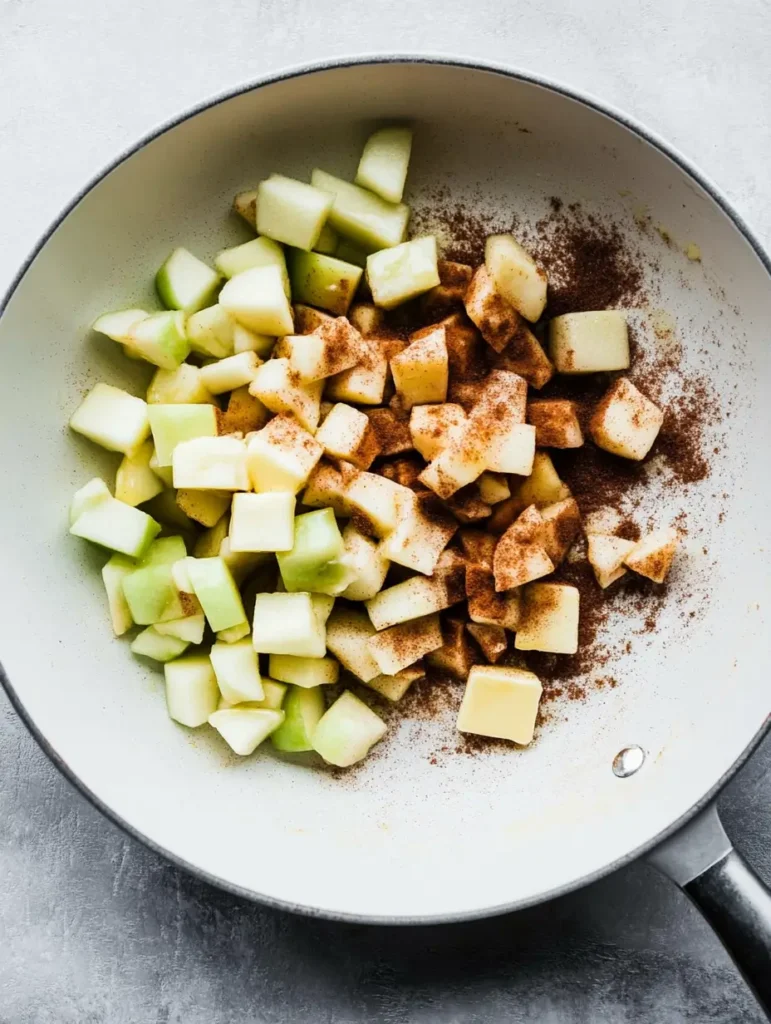
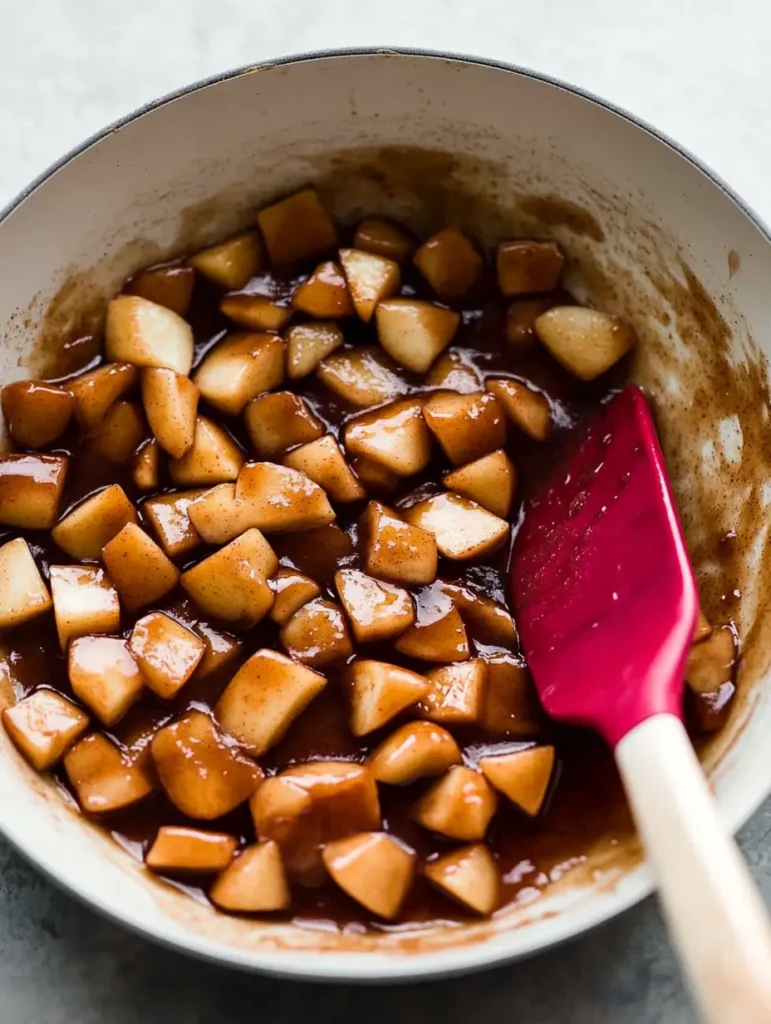
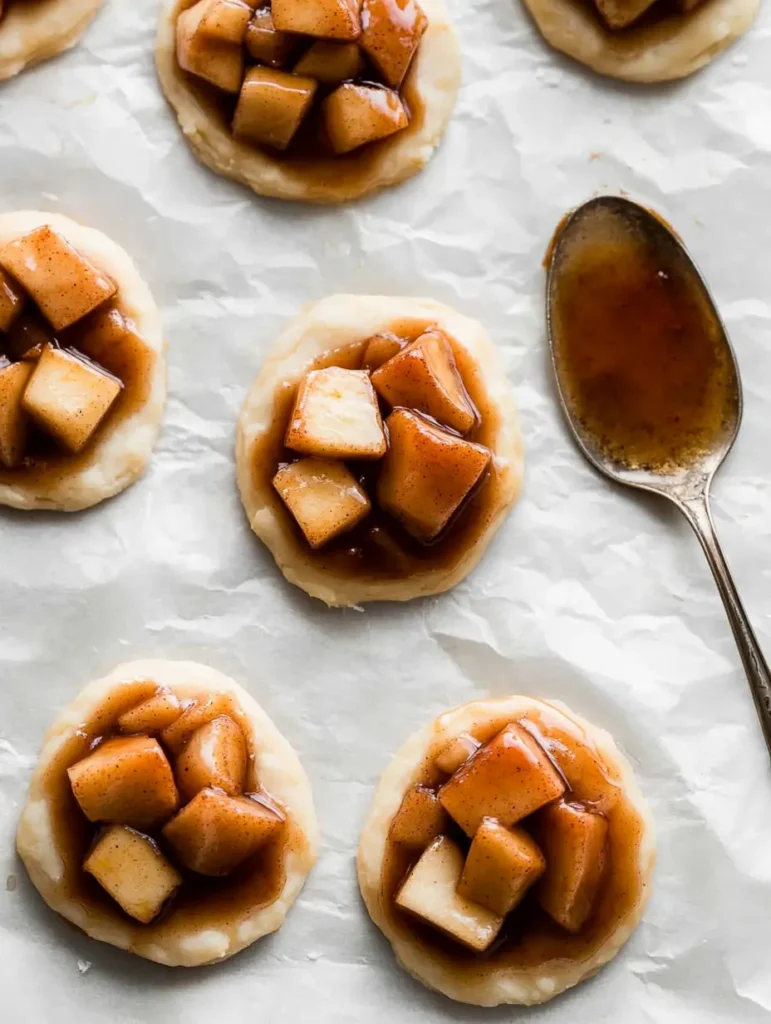
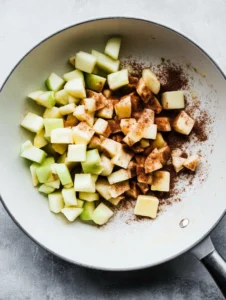
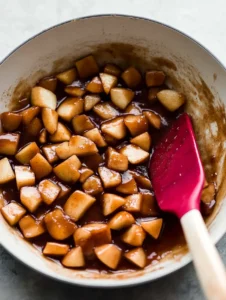
Prepare the Apple Filling: While the dough is chilling, peel, core, and chop the apples. In a bowl, toss the apples with sugars, flour, cinnamon, nutmeg, cloves, and lemon juice. Stir to get EVERYTHING covered.
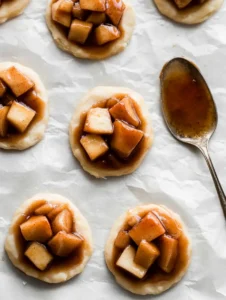
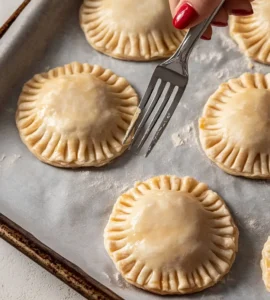
Assemble the Hand Pies: On a lightly floured surface, roll out the chilled dough to about 1/8-inch thickness. Use a round cutter (or any cute shape that catches your fancy) and cut out circles of the dough (I sometimes use small glasses as an easy alternative!). Now, when you have fun, put 1 or 2 heaping tablespoons of apple filling on one-half of each circle of dough. Fold over to form a half-moon shape. Press down to seal the edges (a fork does wonders for sealing). Now brush those with the egg wash for shine (I told you its IMPORTANT). Use a sharp knife or fork to cut a few slits on top so it gets crispy.
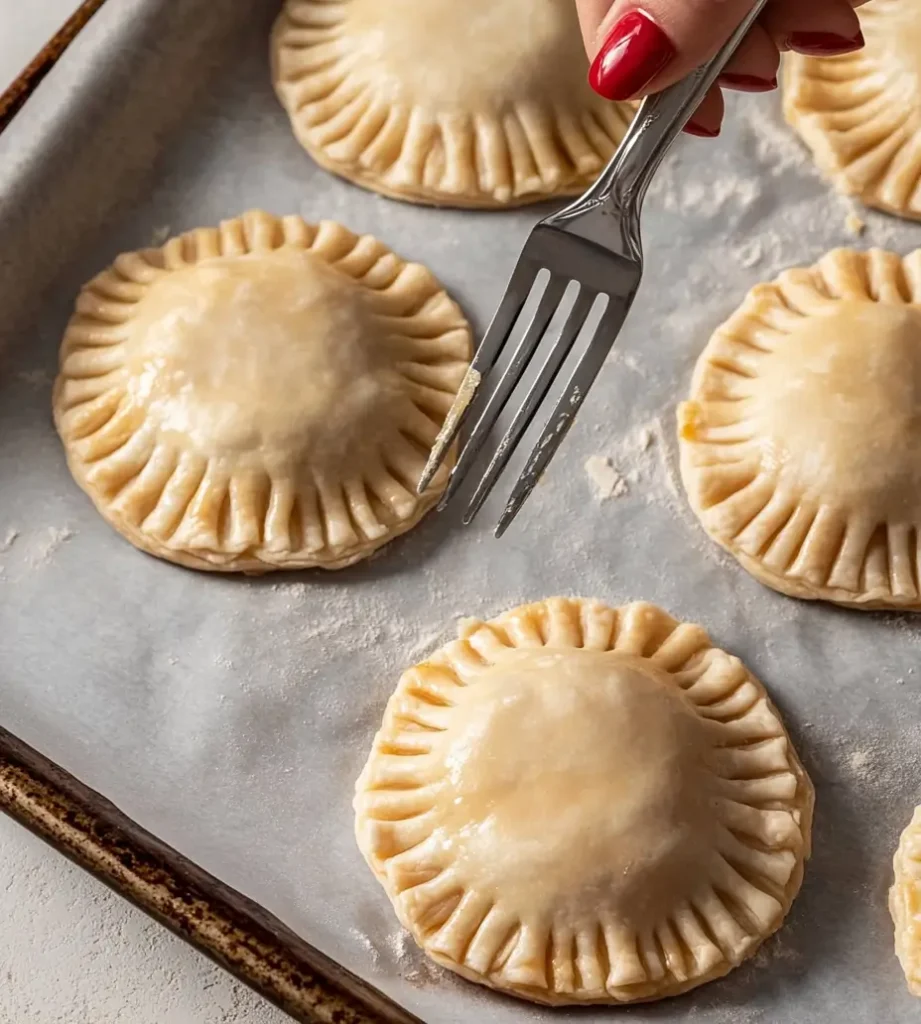
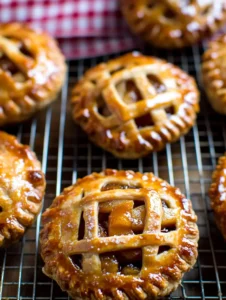
Bake the Hand Pies: Place hand pies on a baking sheet lined with parchment paper. Pop in a preheated oven at 375°F (190°C). Bake for 20-25 minutes, or until they are golden brown and the filling is bubbly! Once out, cool for a bit, and the pies are ready!
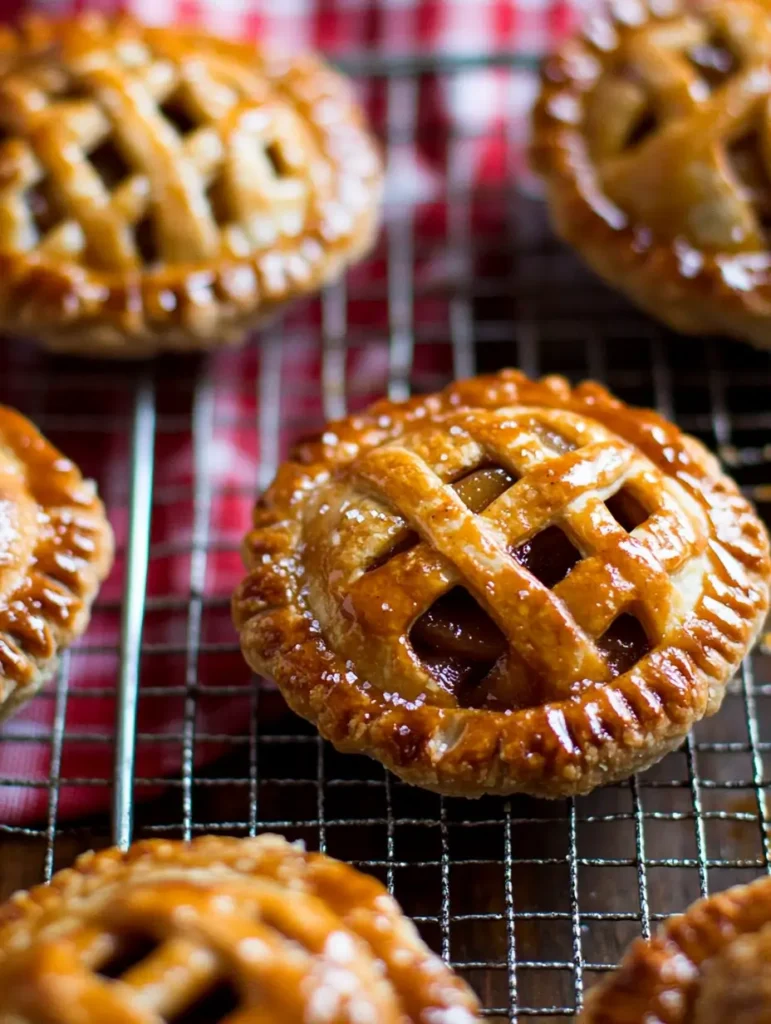
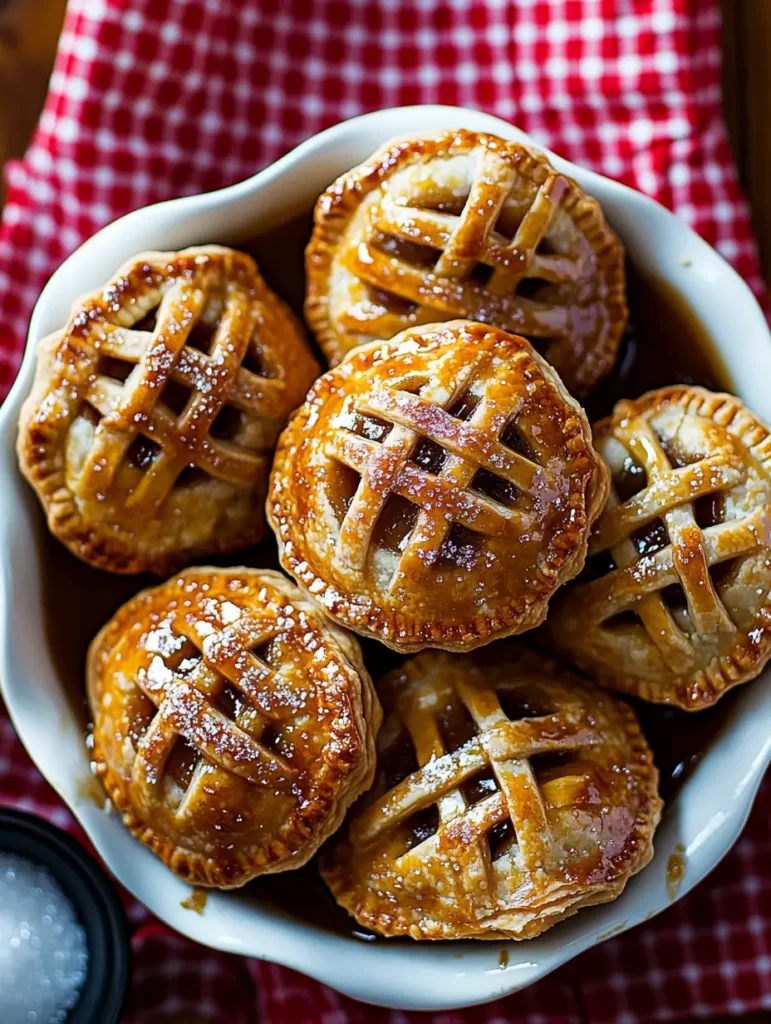
AND, TA DA! Those golden wonders are ready! Grab them, get comfortable on the sofa, and ENJOY.
— ❖ —
Tips and Tricks for Extra Good Apple Hand Pies
- Keep the Butter COLD: This is the number one rule when it comes to baking good pastries ( I learnt it the hard way, so TRUST ME on this). Cold butter is the KEY to flaky dough.
- Don’t overwork the Dough: Handle it lightly so it gets TENDER
- Pre-Chop Apples: chop the apples, right before prepping everything. I know some of you love being ready to the minute, but not letting the apples wait prevents soggy crust!
- Egg Wash Power: It is a KEY factor in that golden shine on your pies, it’s MAGIC, I TELL YOU. Do not skip on that one cause even though it doesn’t alter taste, it looks amazing.
- Freezing before Baking: for 15 minutes, make the dough extra flaky
- Bake a little longer: bake till you see a rich gold on the pie edges, and the filling should bubble, if not, wait 5 minutes more, and enjoy your crispy apple pie, guaranteed
- Let Them COOL!: Let your pies sit a while and allow everything to settle
Follow these, and trust me – even beginners can bake like PROFESSIONALS with this.
— ❖ —
Variations: Spice Up Your Hand Pie Game
Want to tweak your Apple Hand Pies to another LEVEL? No problem:
- Caramel Crunch: Drizzle some homemade or store-bought caramel over the pies right before baking. Add some flaky salt before going in for EXTRA power.
- Berry Blast: Add blueberries or raspberries to your apple pie mix – I tell you, IT’S A DELIGHT, especially with some lavender, IT ADDS magic!
- Nutty Goodness: sprinkle chopped pecans or walnuts into your mix – a PERFECT addition to autumn flavors!
- Cheesy Twist: For a savoury change, add some Gruyere to the mix, it will add salty notes and balance sweetness to perfection
Feel free to go wild and have fun because, ultimately baking must be something ENJOYABLE!
— ❖ —
Serving Suggestions
Alright, now that those golden beauties are out of the oven, let’s think about how to REALLY make the most of them! Because presentation matters (and a great one does boost happiness). So let’s transform those hand pies into show stoppers:
- A la Mode: Who can resist warm hand pie with a scoop of your favorite vanilla ice cream? Make it extra and try adding a drizzle of caramel sauce. Talk about a heaven of a treat!
- Coffee Companion: Serve those apple pies along a great warm cup of coffee (my dad says Colombian beans make a great pair, and trust me on this!) , tea or cider. These pair very well in the colder months. They complement so well that everyone will rave about it.
- Festive Feast: Take your hand pies up a notch and garnish it. Place those amazing golden pies on a serving tray and make an easy powdered sugar dusting, then top it with a touch of freshly chopped mint for the visual wow factor! It will turn an average snack to a magical visual experience
- Simple Stand Alone: Want to really show how the pies taste? Serve them straight up while they are warm and pair it up with zero complications to maximize the natural flavors, for all the pie purists! It shows quality for simplicity at its best!
- Gifting Gold: Place them in small cute paper boxes, decorated with simple natural ribbon and you have perfect gift options for people you LOVE! Your home made gifts will blow them away! My favorite is adding small personalised card, making every moment extra personal and memorable.
So that’s a quick peek on some great pairings to enjoy the fruit of your labor (I mean… fruit pie). Next, we move on to those very important details of proper storage
— ❖ —
Storage: Keeping Your Hand Pies Fresh
Okay, so you’ve baked these Apple Hand Pies, but what do we do if the delicious pies do not disappear in 10 mins? Here’s a complete breakdown of how to store those treats the right way and get those maximum flavors! Let me break down how long will those babies last :
- Countertop (short term): Let’s say you are having people coming to eat pie in a couple hours. For that short term keep, leave them in a dry and safe spot in your kitchen counter at room temperature for 1 to 2 days, to be consumed FAST. I like to wrap them separately on paper towel, just to maintain crispness a bit longer, especially in high humidity!
- Fridge (medium term): if the plan is not to eat for several days. Store in airtight container (individual is preferred) for maximum storage results! I usually like using the reusable silicone containers in my fridge cause I do believe they tend to maintain pies at higher standard. Keep them chilled up to 3 or 4 days. Make sure to reheat them for best texture.
- Freezer (long term): You need to keep for long haul storage for whenever the time to enjoy them comes. After the hand pies are baked, wrap each one on foil or paper and transfer into freezer-safe bags. Lay them out carefully to avoid them from being smushed up. If correctly frozen, they should last for up to 3 months! Make sure you allow some space to prevent pie damage. My favorite freezer secret: freeze first individually on parchment before storing it all in an airtight bag, which results in ZERO smush!
- Reheating magic: Use your oven pre-heated at 350ºF (175ºC) for 10-15 minutes to allow the pies to get that magic crispy crust again! Be sure to check periodically cause every oven is different! You can also try your microwave on a lower power for one or two mins for easier reheating, although a crispy result will not be obtained in this way! For air fryers, 3 mins on 320F, check for colors to your personal liking.
— ❖ —
Frequently Asked Questions (FAQs)
Can I use store-bought pie crust?
ABSOLUTELY, you can. If you need a quick fix, no shame! Just be aware that the taste and texture are NOT gonna be the same. My advice is that store-bought doughs usually tend to taste a bit “artificial”.
Can I freeze the hand pies before baking?
Yes, for 3 months tops! Place them on a baking sheet first until firm and transfer to freezer bags for best keeping! Once they’re frozen, bake as directed, adding 5-10 more minutes
How long will these hand pies last?
When stored properly, your hand pies should be GREAT for about 3 days in a refrigerator, otherwise they will get mushy if you live in hot climate. To extend, place them in airtight container.
Can I make these vegan?
Yes! I’d switch butter to vegan butter (I prefer my almond spread version of butter for these), and for egg wash, a good quality soy or oat cream. Just avoid using coconut milk. You can always swap out dairy milks and they will work as wonders!
How do I avoid the bottom from getting soggy?
You have several options – my secret tip? Add 1 tablespoon of cornstarch for that amazing consistency, don’t let juices create sogginess.
— ❖ —
Well, there you have it. An effortless guide for a classic and yummy baked good! Now its your turn. Seriously, GO AND TRY THEM! The aroma alone makes me want a batch! Whether it’s a cozy Sunday brunch, a potluck party, or just a personal treat, I’m SURE you’ll impress everyone (and YOURSELF). Remember to make some extra, cause I bet everyone will LOVE them, including you! If anything, I wish you loads of FUN and tasty pies in the oven.
Print
Easy Apple Hand Pies Recipe
- Prep Time: 30 minutes
- Cook Time: 25 minutes
- Total Time: 55 minutes
- Yield: 12 servings
- Category: Desserts
- Method: Baking
- Cuisine: American
Description
Golden, flaky Apple Hand Pies filled with a warm, spiced apple mixture that’s bursting with the cozy flavors of cinnamon, nutmeg, and cloves.
Ingredients
For the Crust
- All-Purpose Flour: 2 1/2 cups (your favorite brand works best!).
- Salt: 1 tsp (essential for flavor).
- Unsalted Butter: 1 cup (2 sticks), cold and cubed (FREEZE for 10 minutes for easy cutting).
- Ice Water: 1/2 cup (ICE cold is KEY).
For the Filling
- Apples: 3 medium (Honeycrisp or Granny Smith, peeled, cored, and chopped).
- Granulated Sugar: 1/4 cup (natural sweetness).
- Light Brown Sugar: 1/4 cup, packed.
- All-Purpose Flour: 2 tbsp (thickens the filling).
- Ground Cinnamon: 1 tsp (because cinnamon + apples = MAGIC).
- Ground Nutmeg: 1/2 tsp (adds warmth).
- Ground Cloves: 1/4 tsp (for a spicy kick).
- Lemon Juice: 1 tbsp (prevents soggy fillings).
For the Egg Wash (Optional)
- Egg: 1, beaten with 1 tbsp water (adds a gorgeous golden shine).
Instructions
Make the Dough:
In a bowl, whisk together flour and salt.
Add cubed cold butter and mix using a pastry cutter or your fingers until the mixture resembles coarse crumbs.
Gradually add ice water, one tablespoon at a time, until the dough holds together.
Shape the dough into a flat disc, wrap in plastic, and chill for at least 30 minutes.
Prepare the Apple Filling:
In a bowl, toss chopped apples with sugars, flour, cinnamon, nutmeg, cloves, and lemon juice. Stir until well coated.
Assemble the Hand Pies:
Roll out chilled dough on a floured surface to 1/8-inch thickness.
Use a round cutter (or a small glass) to cut out dough circles.
Spoon 1–2 tbsp of apple filling onto one-half of each circle. Fold over to form a half-moon shape.
Seal edges with a fork and brush with egg wash. Cut small slits on top for steam release.
Bake the Hand Pies:
Place hand pies on a parchment-lined baking sheet.
Bake at 375°F (190°C) for 20–25 minutes until golden brown and bubbly.

Cool and Serve:
Let the pies cool slightly, then dig in!
Notes
Keep the Dough Cold: Cold butter and ice water are the secrets to flaky, buttery crusts. If the dough warms up while you’re working, pop it in the fridge for 10–15 minutes.
Choose the Right Apples: Use firm, tart apples like Granny Smith or Honeycrisp for the best texture and flavor. Avoid softer varieties, as they can turn mushy.
Seal Those Edges Well: Use a fork to press the edges firmly together to avoid leaks while baking. If needed, brush a little water around the edges before sealing.
Customize Your Fillings: Add raisins, chopped nuts, or a pinch of ginger to your filling for extra flavor and texture.
Cut Vent Holes: Don’t skip the slits on top! These allow steam to escape, preventing soggy pies.
Nutrition
- Calories: 250 kcal
- Sugar: 15 g
- Sodium: 120 mg
- Fat: 14 g
- Saturated Fat: 9 g
- Protein: 3 g
- Cholesterol: 45 mg


